Introduction to Tile Installation for Beginners
Welcome to the world of tile installation! If you're a beginner looking to start your first tile project in Meridian, Idaho, you're in the right place. Whether you're renovating your bathroom, upgrading your kitchen, or adding a stylish touch to your flooring, understanding the basics of tile installation is essential. In this guide, we'll walk you through everything you need to know to get started in 2026.
Understanding Types of Tiles
Before diving into installation, it's crucial to choose the right type of tile for your project. Different tiles serve different purposes, and each has unique characteristics:
- Ceramic Tiles: Affordable and versatile, ceramic tiles are ideal for walls and low-traffic areas.
- Porcelain Tiles: Denser and more durable than ceramic, porcelain is perfect for floors and high-traffic areas.
- Natural Stone Tiles: Marble, granite, and slate offer a luxurious look but require more maintenance.
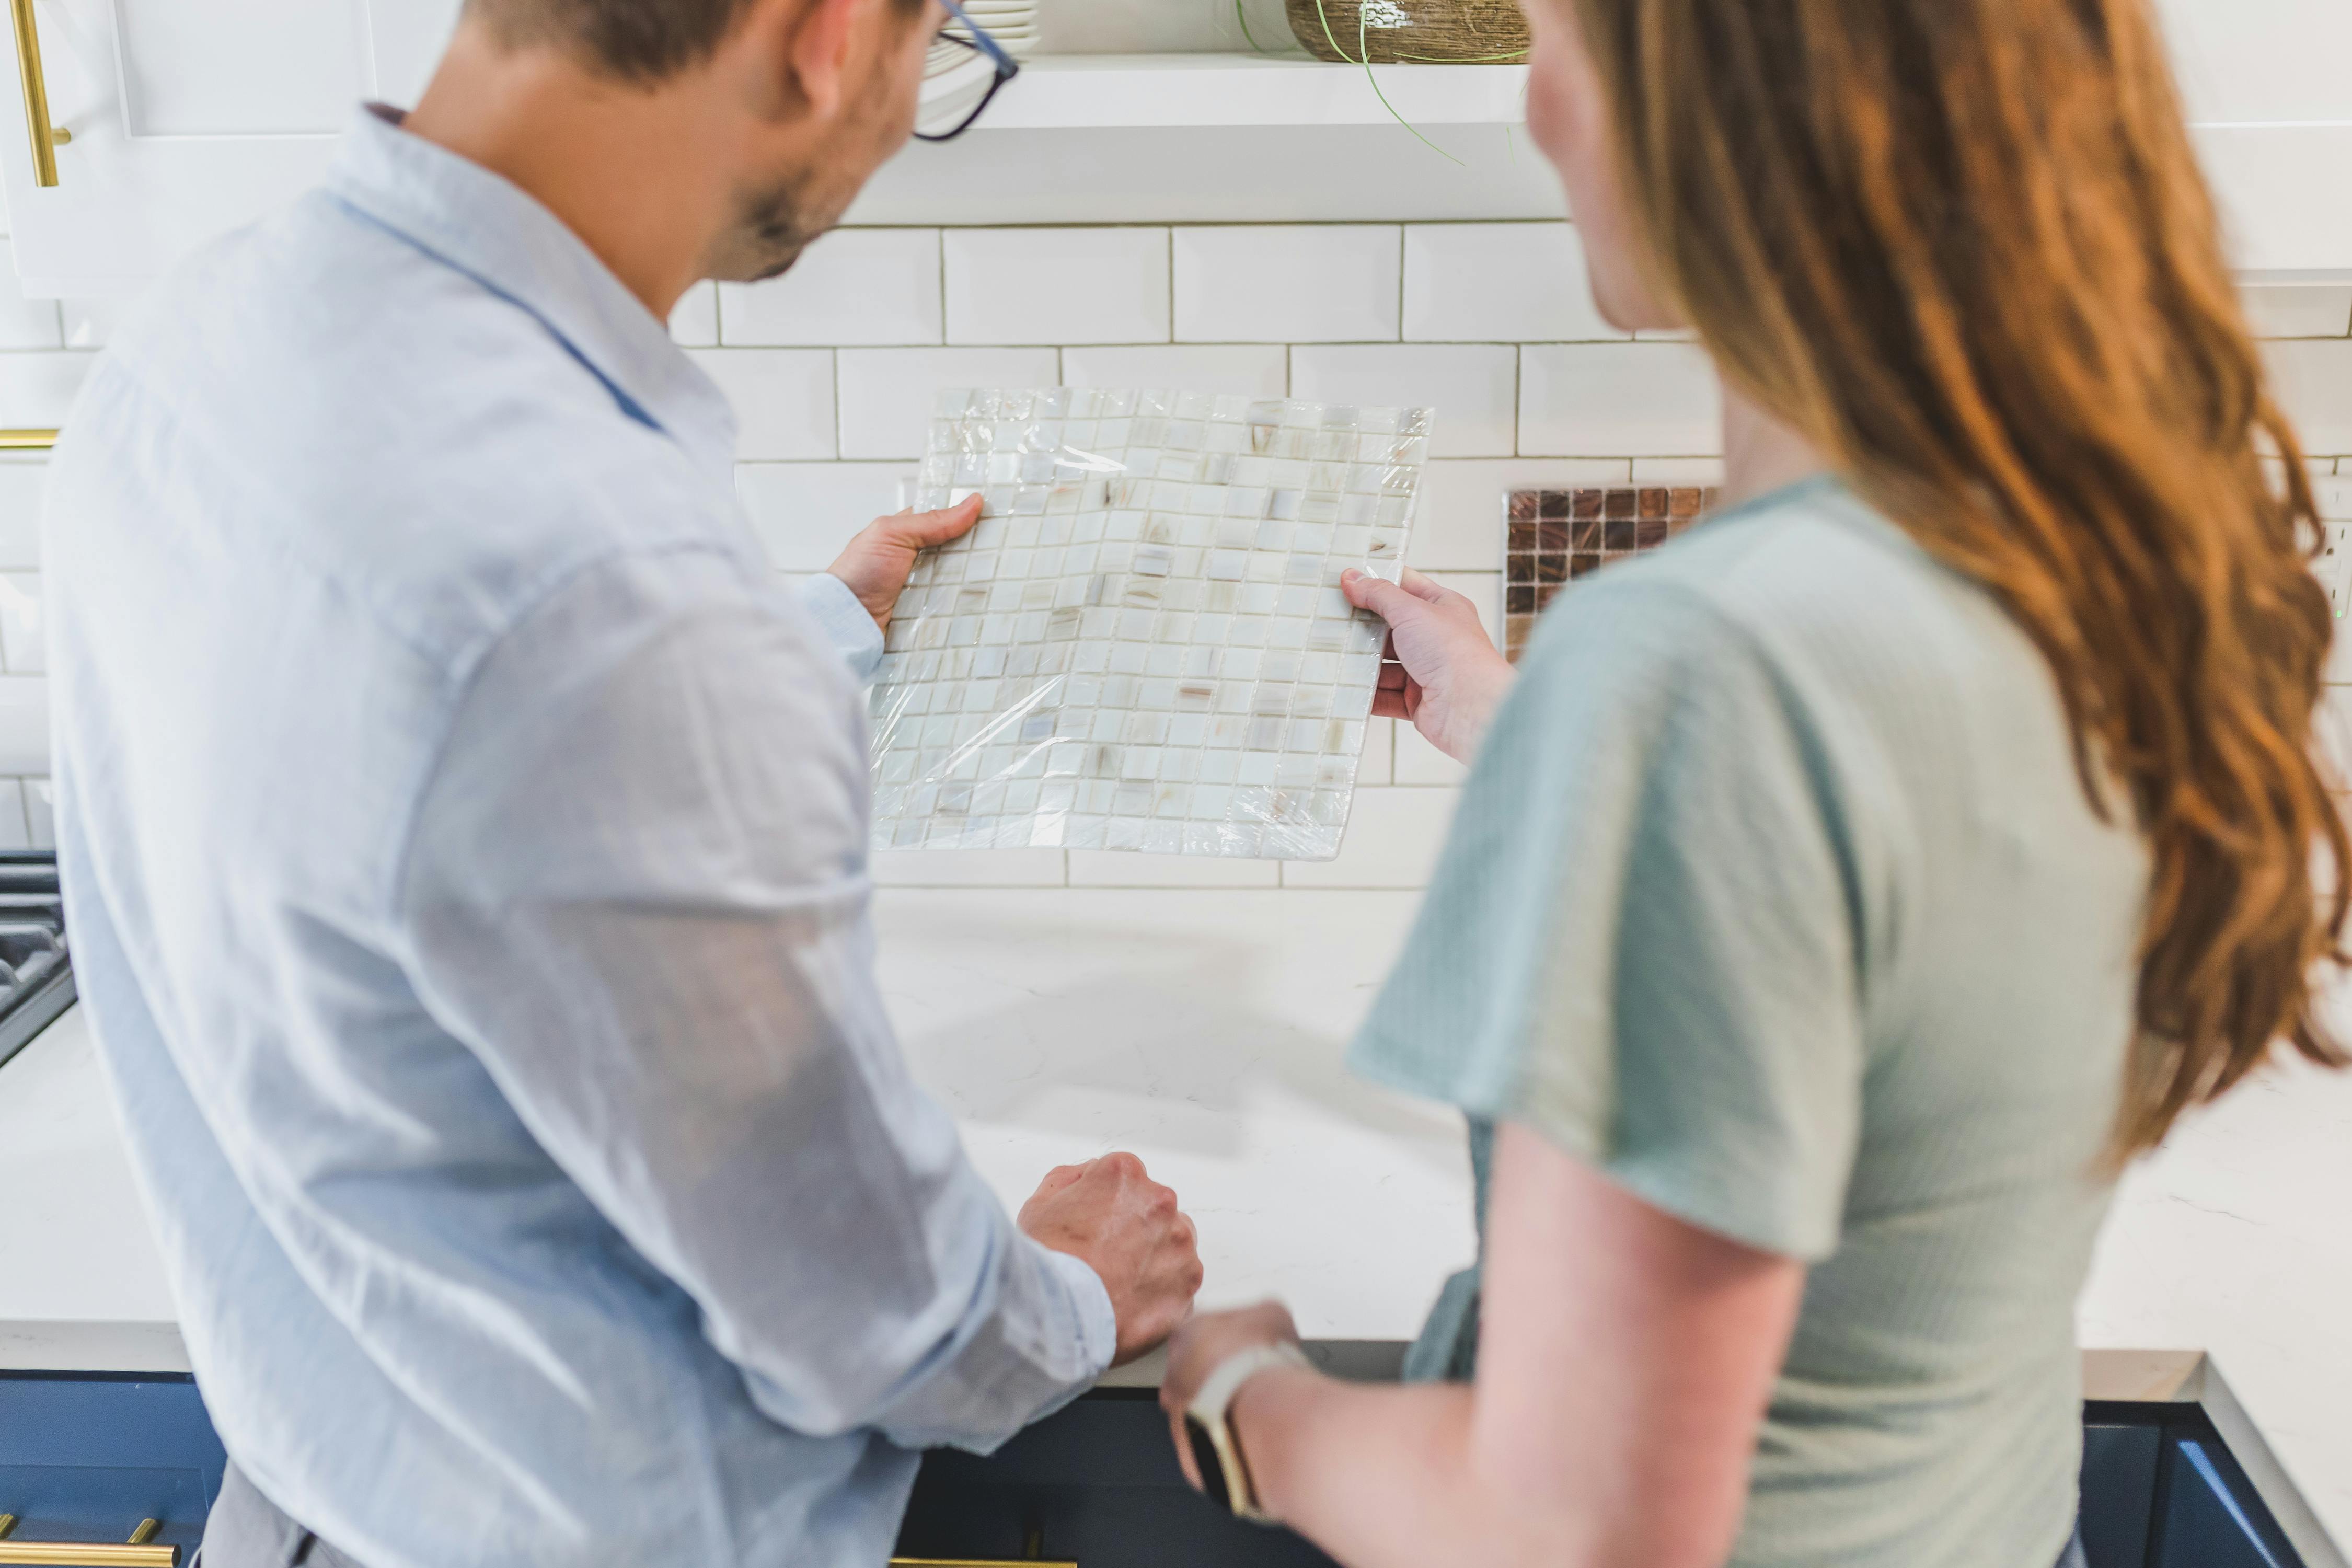
- Glass Tiles: Best for backsplashes and accent walls, glass tiles add a glossy finish to any space.
Essential Tools and Materials
Having the right tools and materials is key to a successful installation. Here's a checklist to get you started:
- Tile Cutter or Wet Saw: For precise cuts.
- Notched Trowel: To spread adhesive evenly.
- Level: Ensures tiles are laid evenly.
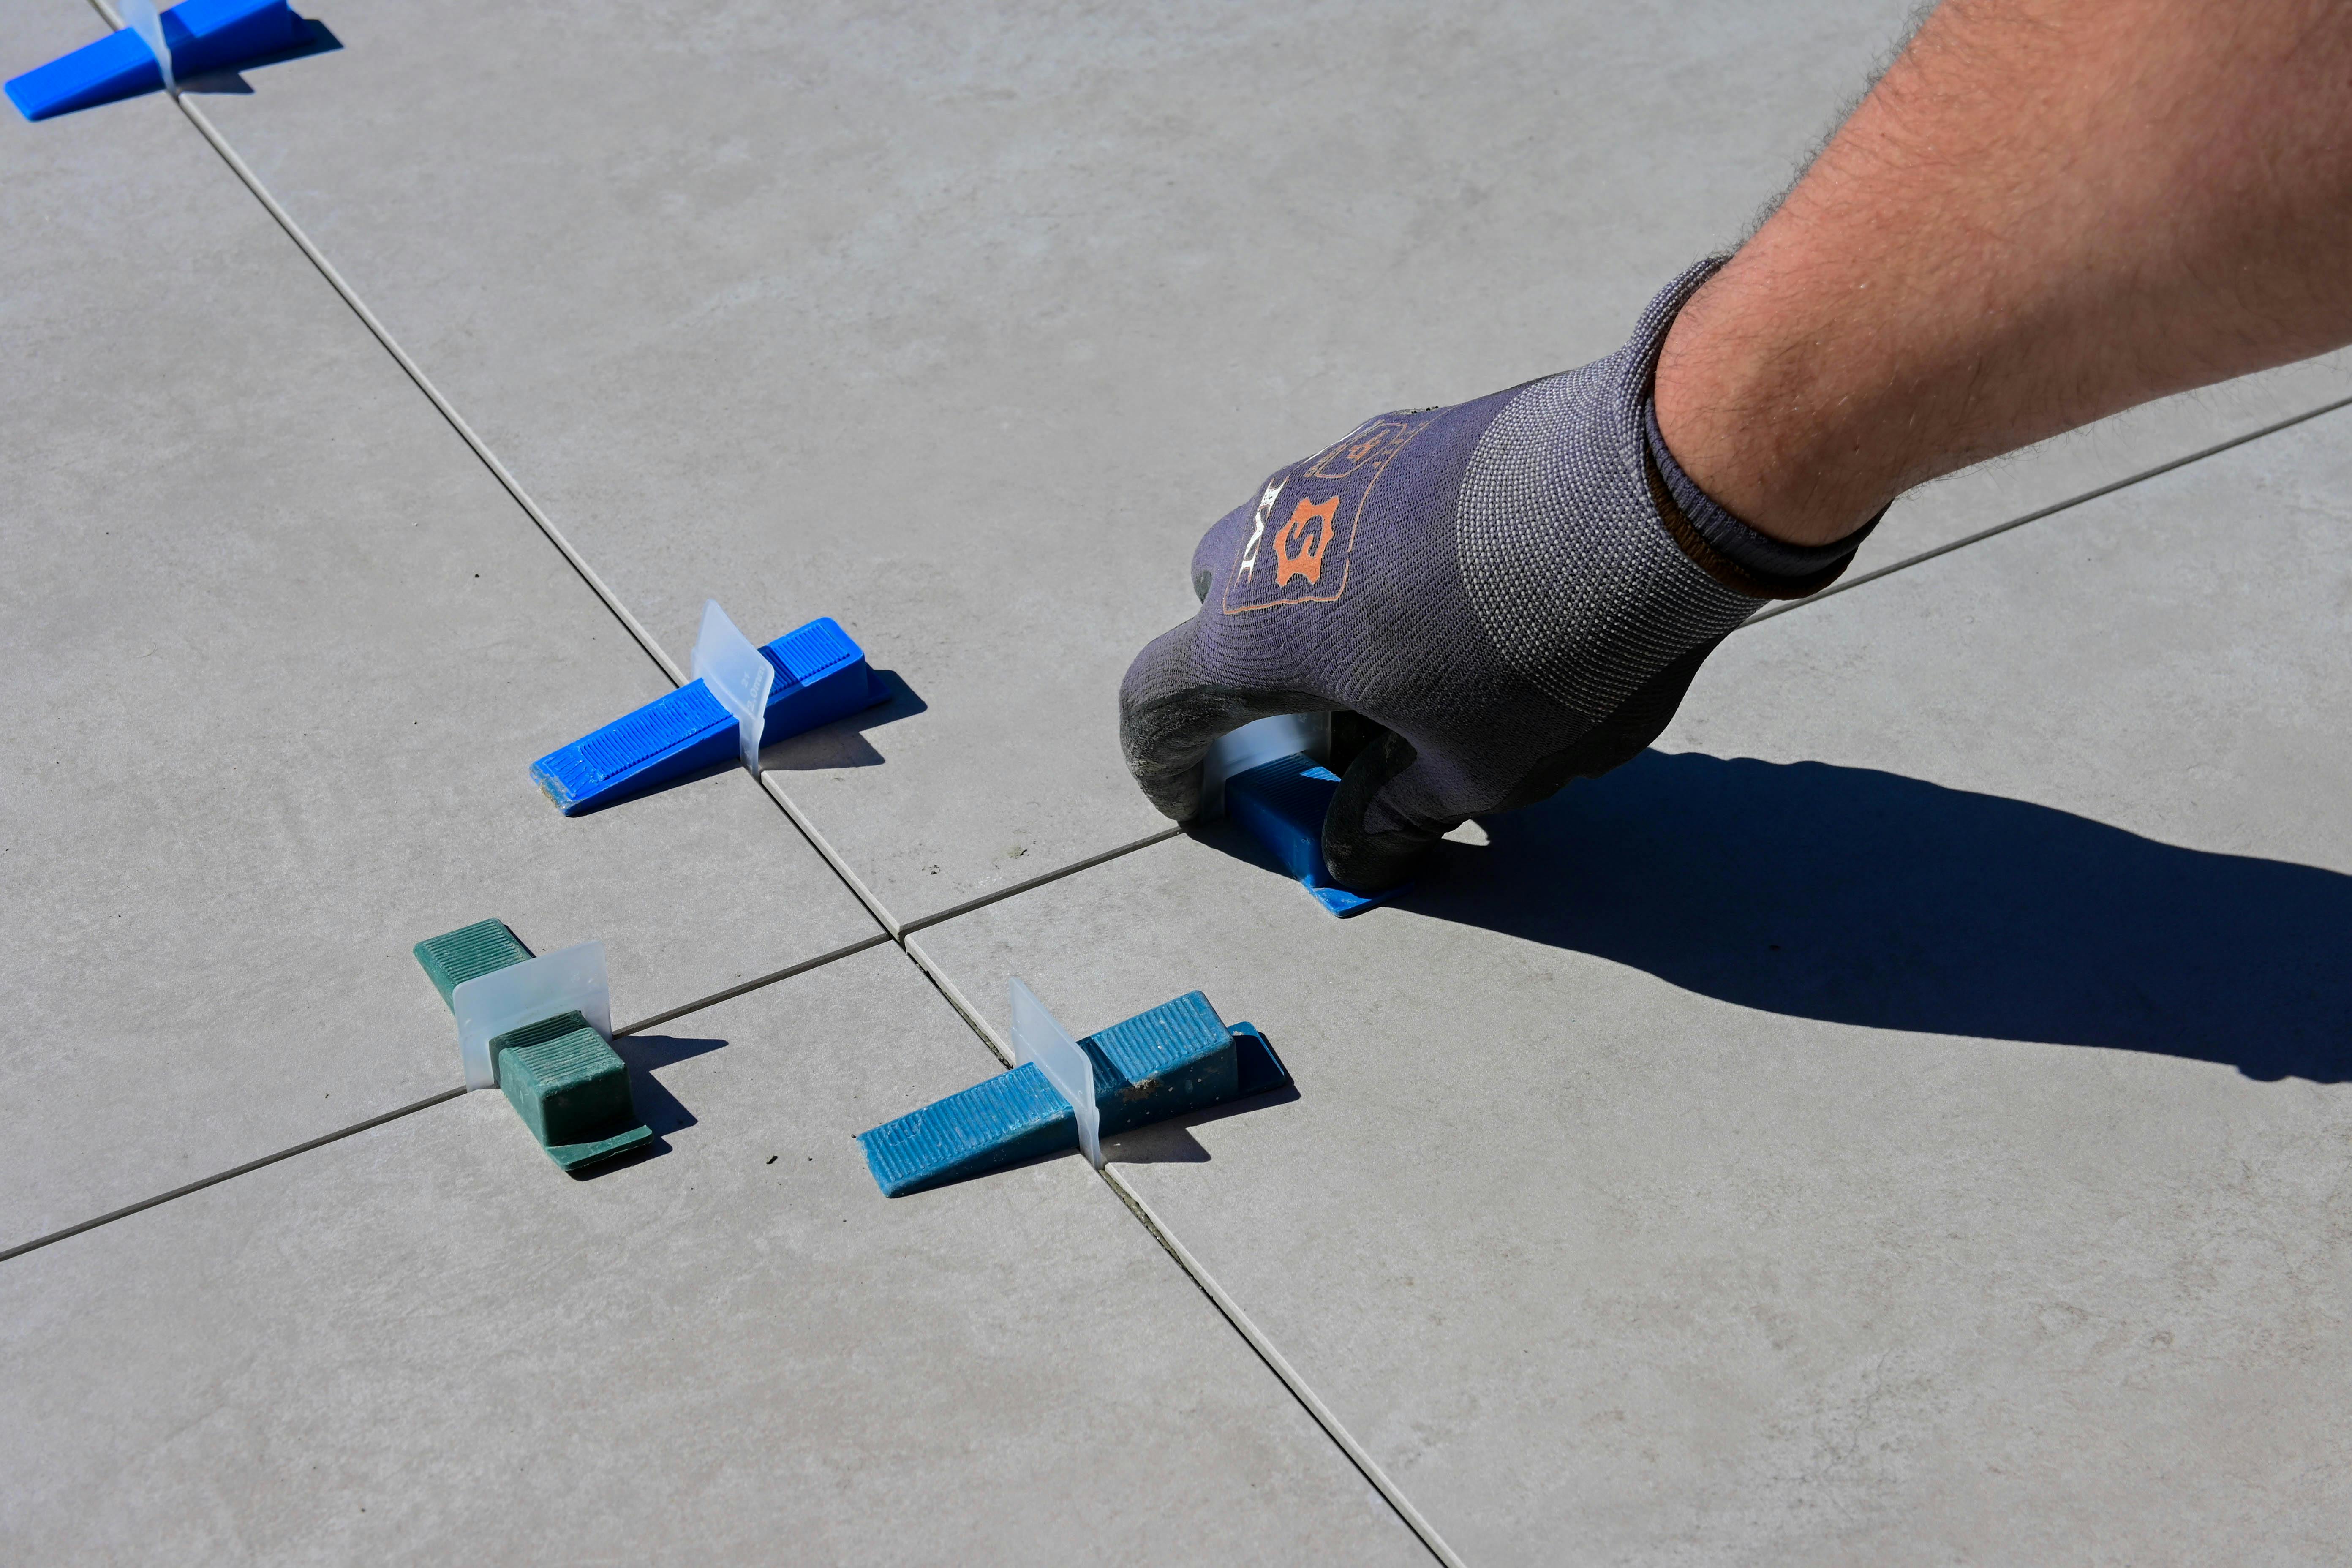
- Tile Spacers: Maintain consistent gaps between tiles.
- Grout and Grout Float: For filling spaces between tiles.
- Tile Adhesive: Choose one suitable for your tile type.
Step-by-Step Installation Process
Step 1: Prepare the Surface
Ensure the surface is clean, dry, and level. Remove any old tiles, debris, or dust. For floors, ensure there's a solid subfloor to support the tiles.
Step 2: Plan Your Layout
Measure the area and plan your tile layout. Start from the center and work your way out to ensure symmetry.
Step 3: Apply Adhesive
Using a notched trowel, apply tile adhesive to a small section of the surface. Work in small sections to prevent the adhesive from drying out before the tiles are set.
Step 4: Lay the Tiles
Press tiles firmly into the adhesive, using spacers to maintain even gaps. Continuously check with a level to ensure tiles are even.
Step 5: Cut Tiles to Fit
Use a tile cutter or wet saw for edges and corners. Always wear safety goggles during this process.
Step 6: Grout the Tiles
Once the adhesive has set, remove spacers and apply grout with a grout float. Fill all gaps and wipe excess with a damp sponge.
Common Mistakes to Avoid
Even the most prepared beginners can make mistakes. Here are some common pitfalls to avoid:
- Skipping Surface Preparation: Always clean and level the surface to prevent tiles from cracking.
- Incorrect Adhesive: Use the right adhesive for your tile type and environment.
- Ignoring Grout Lines: Consistent grout lines are crucial for a professional finish.
- Rushing the Process: Take your time to ensure precision and avoid future repairs.
Conclusion: Ready to Start Your Tile Project?
Tile installation can be a rewarding project for any homeowner or DIY enthusiast. By understanding the basics, gathering the right tools, and taking a methodical approach, you can achieve stunning results. If you feel overwhelmed or need professional assistance, Tommy The Tile Guy in Meridian, Idaho, is just a call away. Whether you need a consultation or full installation services, we're here to help you every step of the way in 2026 and beyond. Happy tiling!