Understanding the Basics of Tile Repair
As a homeowner in Meridian, Idaho, maintaining the beauty and functionality of your tiles is crucial. Whether it's a cracked tile in the kitchen or loose ones in the bathroom, addressing these issues early can save you time and money. This beginner-friendly guide will walk you through the steps of repairing tiles, making it an accessible project even if you're new to DIY.
Tools and Materials You'll Need
Before diving into tile repair, gather the necessary tools and materials. Here’s what you’ll need:
- Replacement tiles (if necessary)
- Tile adhesive
- Grout
- Grout sealer
- Tile cutter or wet saw
- Chisel
- Hammer
- Putty knife
- Sponge
- Bucket
- Safety goggles
- Gloves
Step-by-Step Tile Repair Process
Step 1: Preparing the Area
Start by clearing the area around the damaged tile. Remove any furniture or obstacles to ensure you have a clear working space. Wear safety goggles and gloves to protect yourself from any debris.
Step 2: Removing the Damaged Tile
Use a chisel and hammer to gently break and remove the damaged tile. Be careful to avoid damaging adjacent tiles. Once the tile is removed, clean the area thoroughly to remove any old adhesive or grout.
Step 3: Preparing the Surface
Once the old tile and debris are cleared, prepare the substrate. Ensure the surface is smooth and free from dust. This ensures the new tile adheres properly.
Step 4: Installing the New Tile
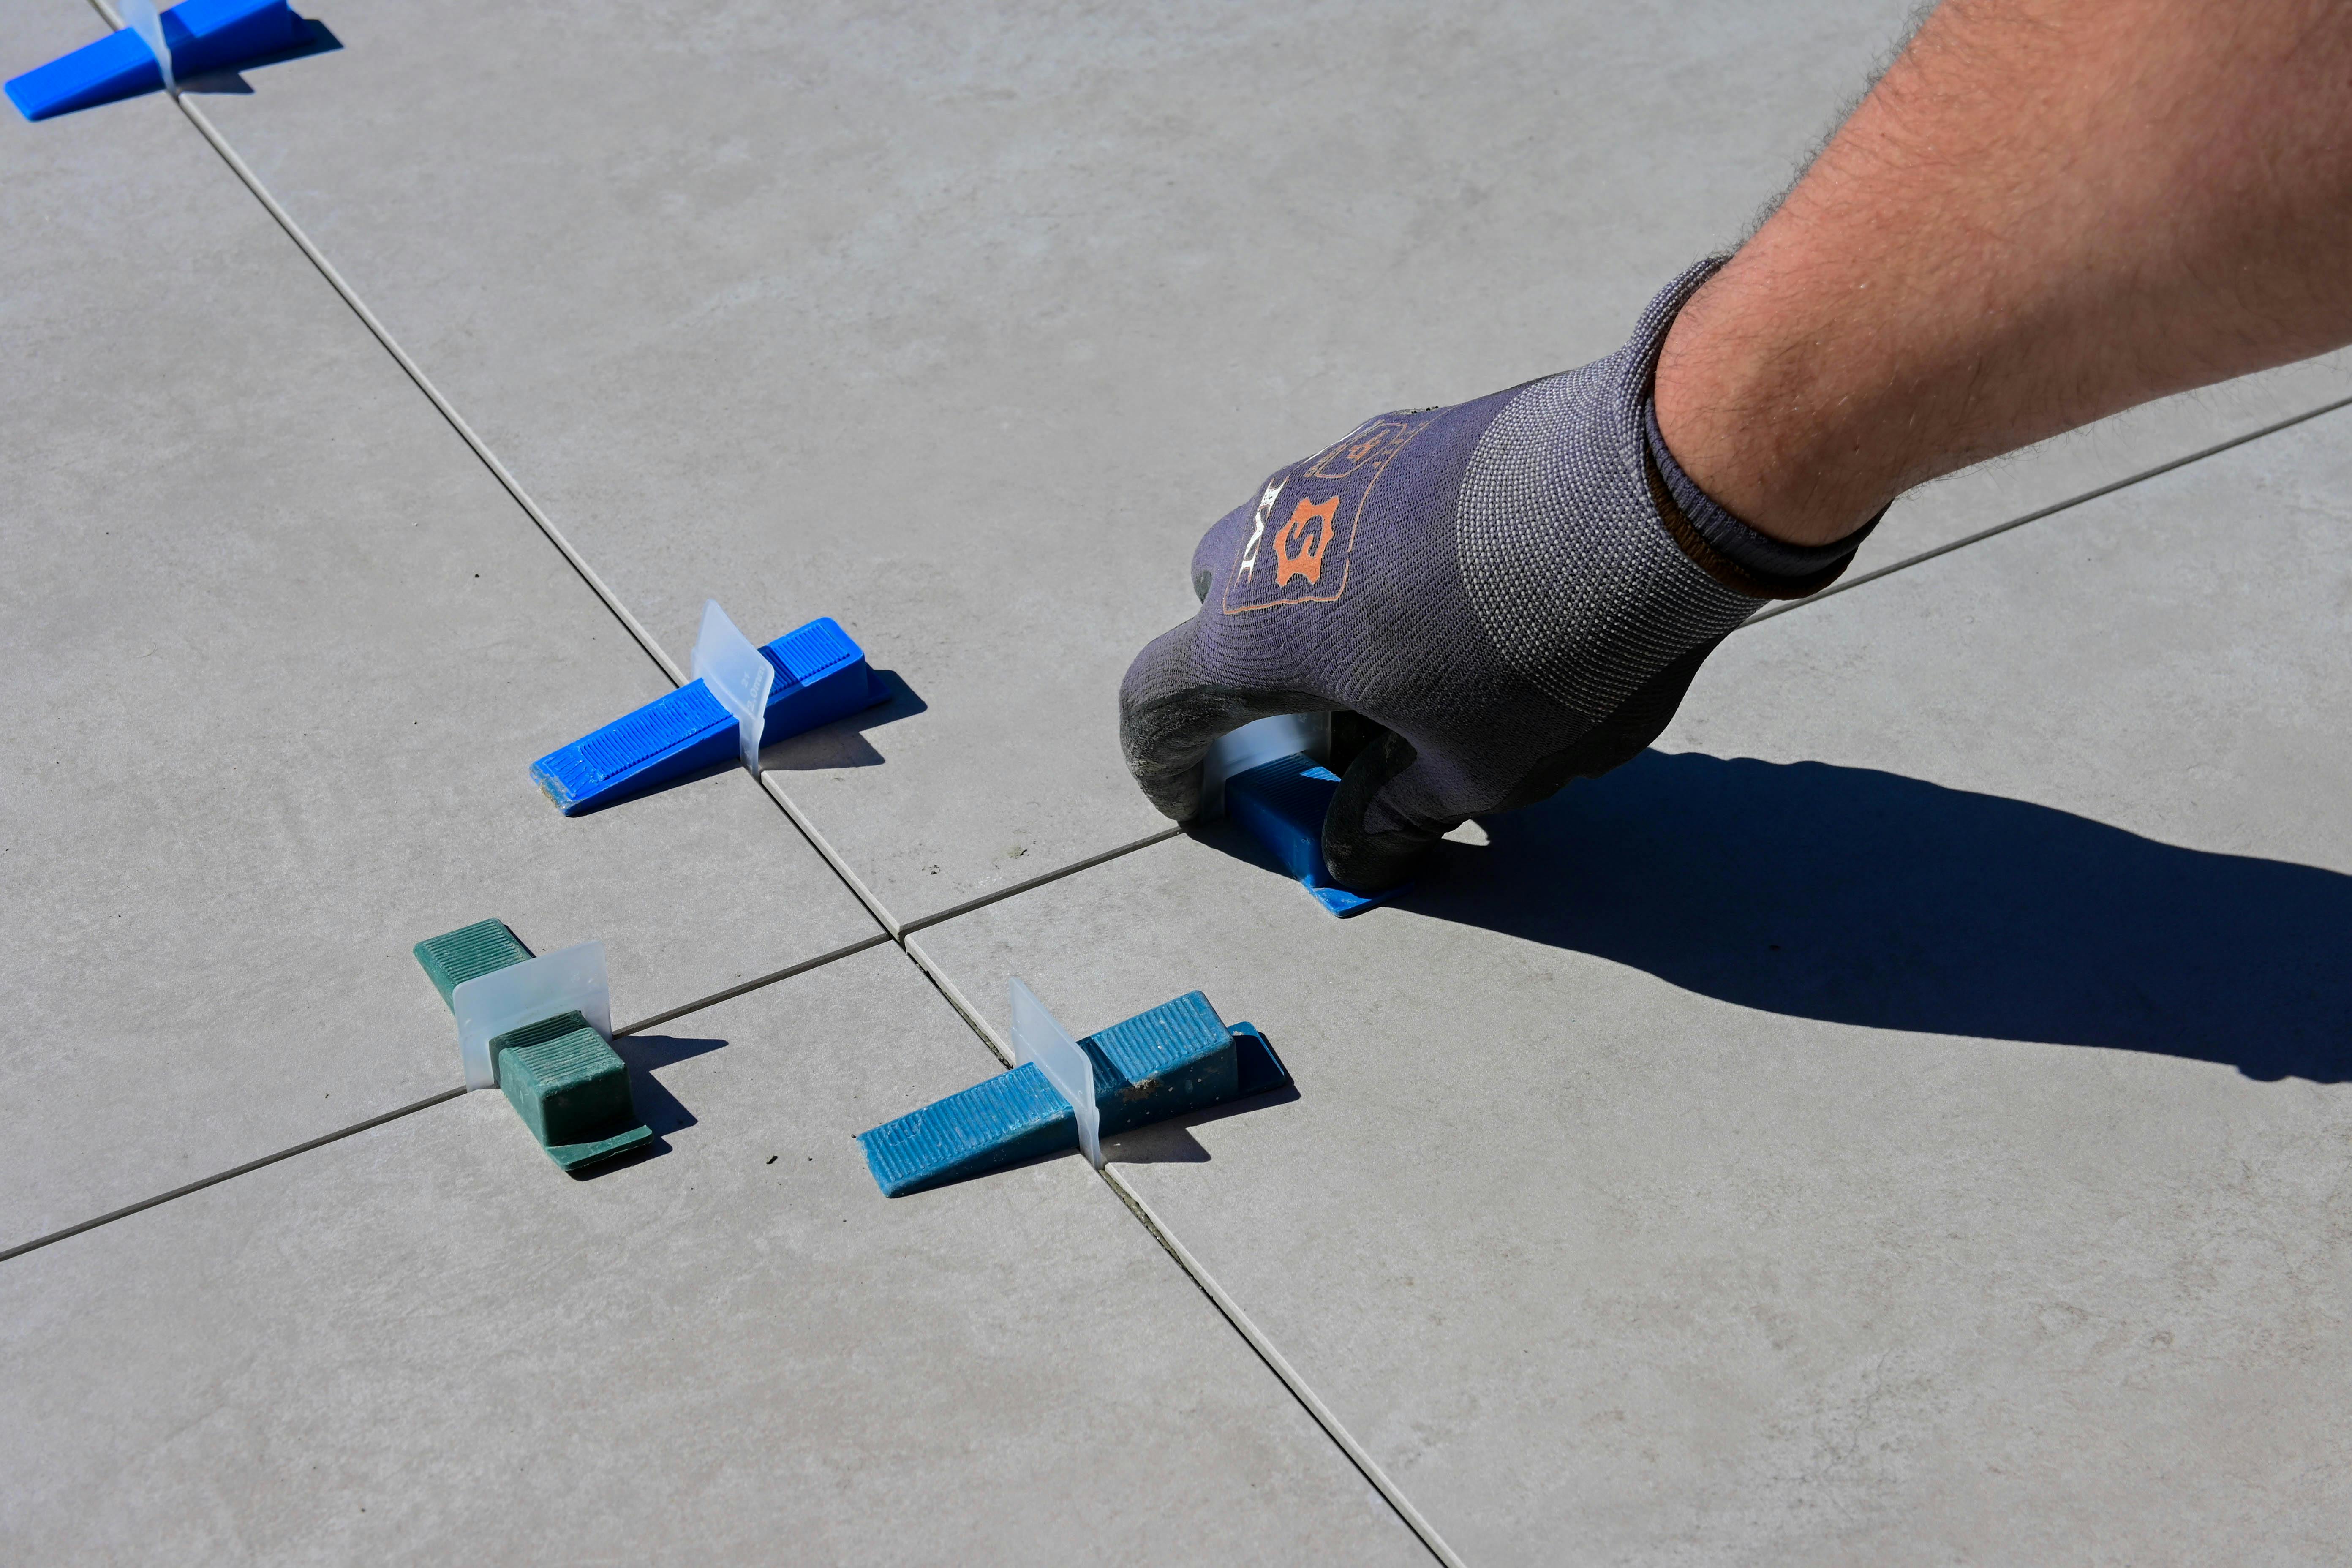
Apply tile adhesive evenly to the back of the new tile. Press the tile firmly into place, making sure it aligns with the surrounding tiles. Use spacers if necessary to maintain even gaps for grout.
Step 5: Grouting
After the adhesive has set, mix your grout according to the package instructions. Using a putty knife, apply the grout into the gaps between tiles. Wipe away excess grout with a damp sponge and allow it to cure as directed.
Step 6: Sealing the Grout
Once the grout has dried, apply a grout sealer to protect against moisture and stains. This step is crucial for maintaining the longevity of your tile repair.
Pro Tips for DIY Tile Repair
- Test your grout color on a small area first to ensure it matches the existing grout.
- Practice on a spare tile before cutting to avoid mistakes.
- Use a level to ensure tiles are even before the adhesive sets.
When to Call a Professional
While DIY tile repair is manageable for minor issues, larger problems such as extensive damage or waterproofing concerns might require professional assistance. If you're unsure or uncomfortable with any step of the process, don't hesitate to contact Tommy The Tile Guy for expert help in Meridian, Idaho.
Conclusion
With the right tools and our step-by-step guide, repairing tiles in your Meridian home can be a rewarding DIY project. Not only will this save you money, but it also enhances your home’s aesthetic and functionality. Remember, meticulous preparation and attention to detail are key to successful tile repair. If you need further assistance or professional services, reach out to Tommy The Tile Guy for expert advice and reliable tile solutions.