Introduction to DIY Tile Installation
Are you a homeowner in Meridian, Idaho, looking to revamp your space with a fresh tile installation? The good news is that with the right guidance, even beginners can tackle this project effectively. This comprehensive guide is tailored for novices who want to try their hand at DIY tile installation.
Why Choose Tiles for Your Home?
Tiles are a durable and aesthetically pleasing option for flooring and walls. They offer a wide range of styles, colors, and textures, making them suitable for any room in your home. Additionally, tiles are easy to clean and maintain, which is ideal for busy households.
Essential Tools and Materials
Before starting your DIY tile project, ensure you have the following tools and materials:
- Tiles: Choose tiles that suit your style and the room's purpose.
- Tile Cutter: For precise cutting and fitting.
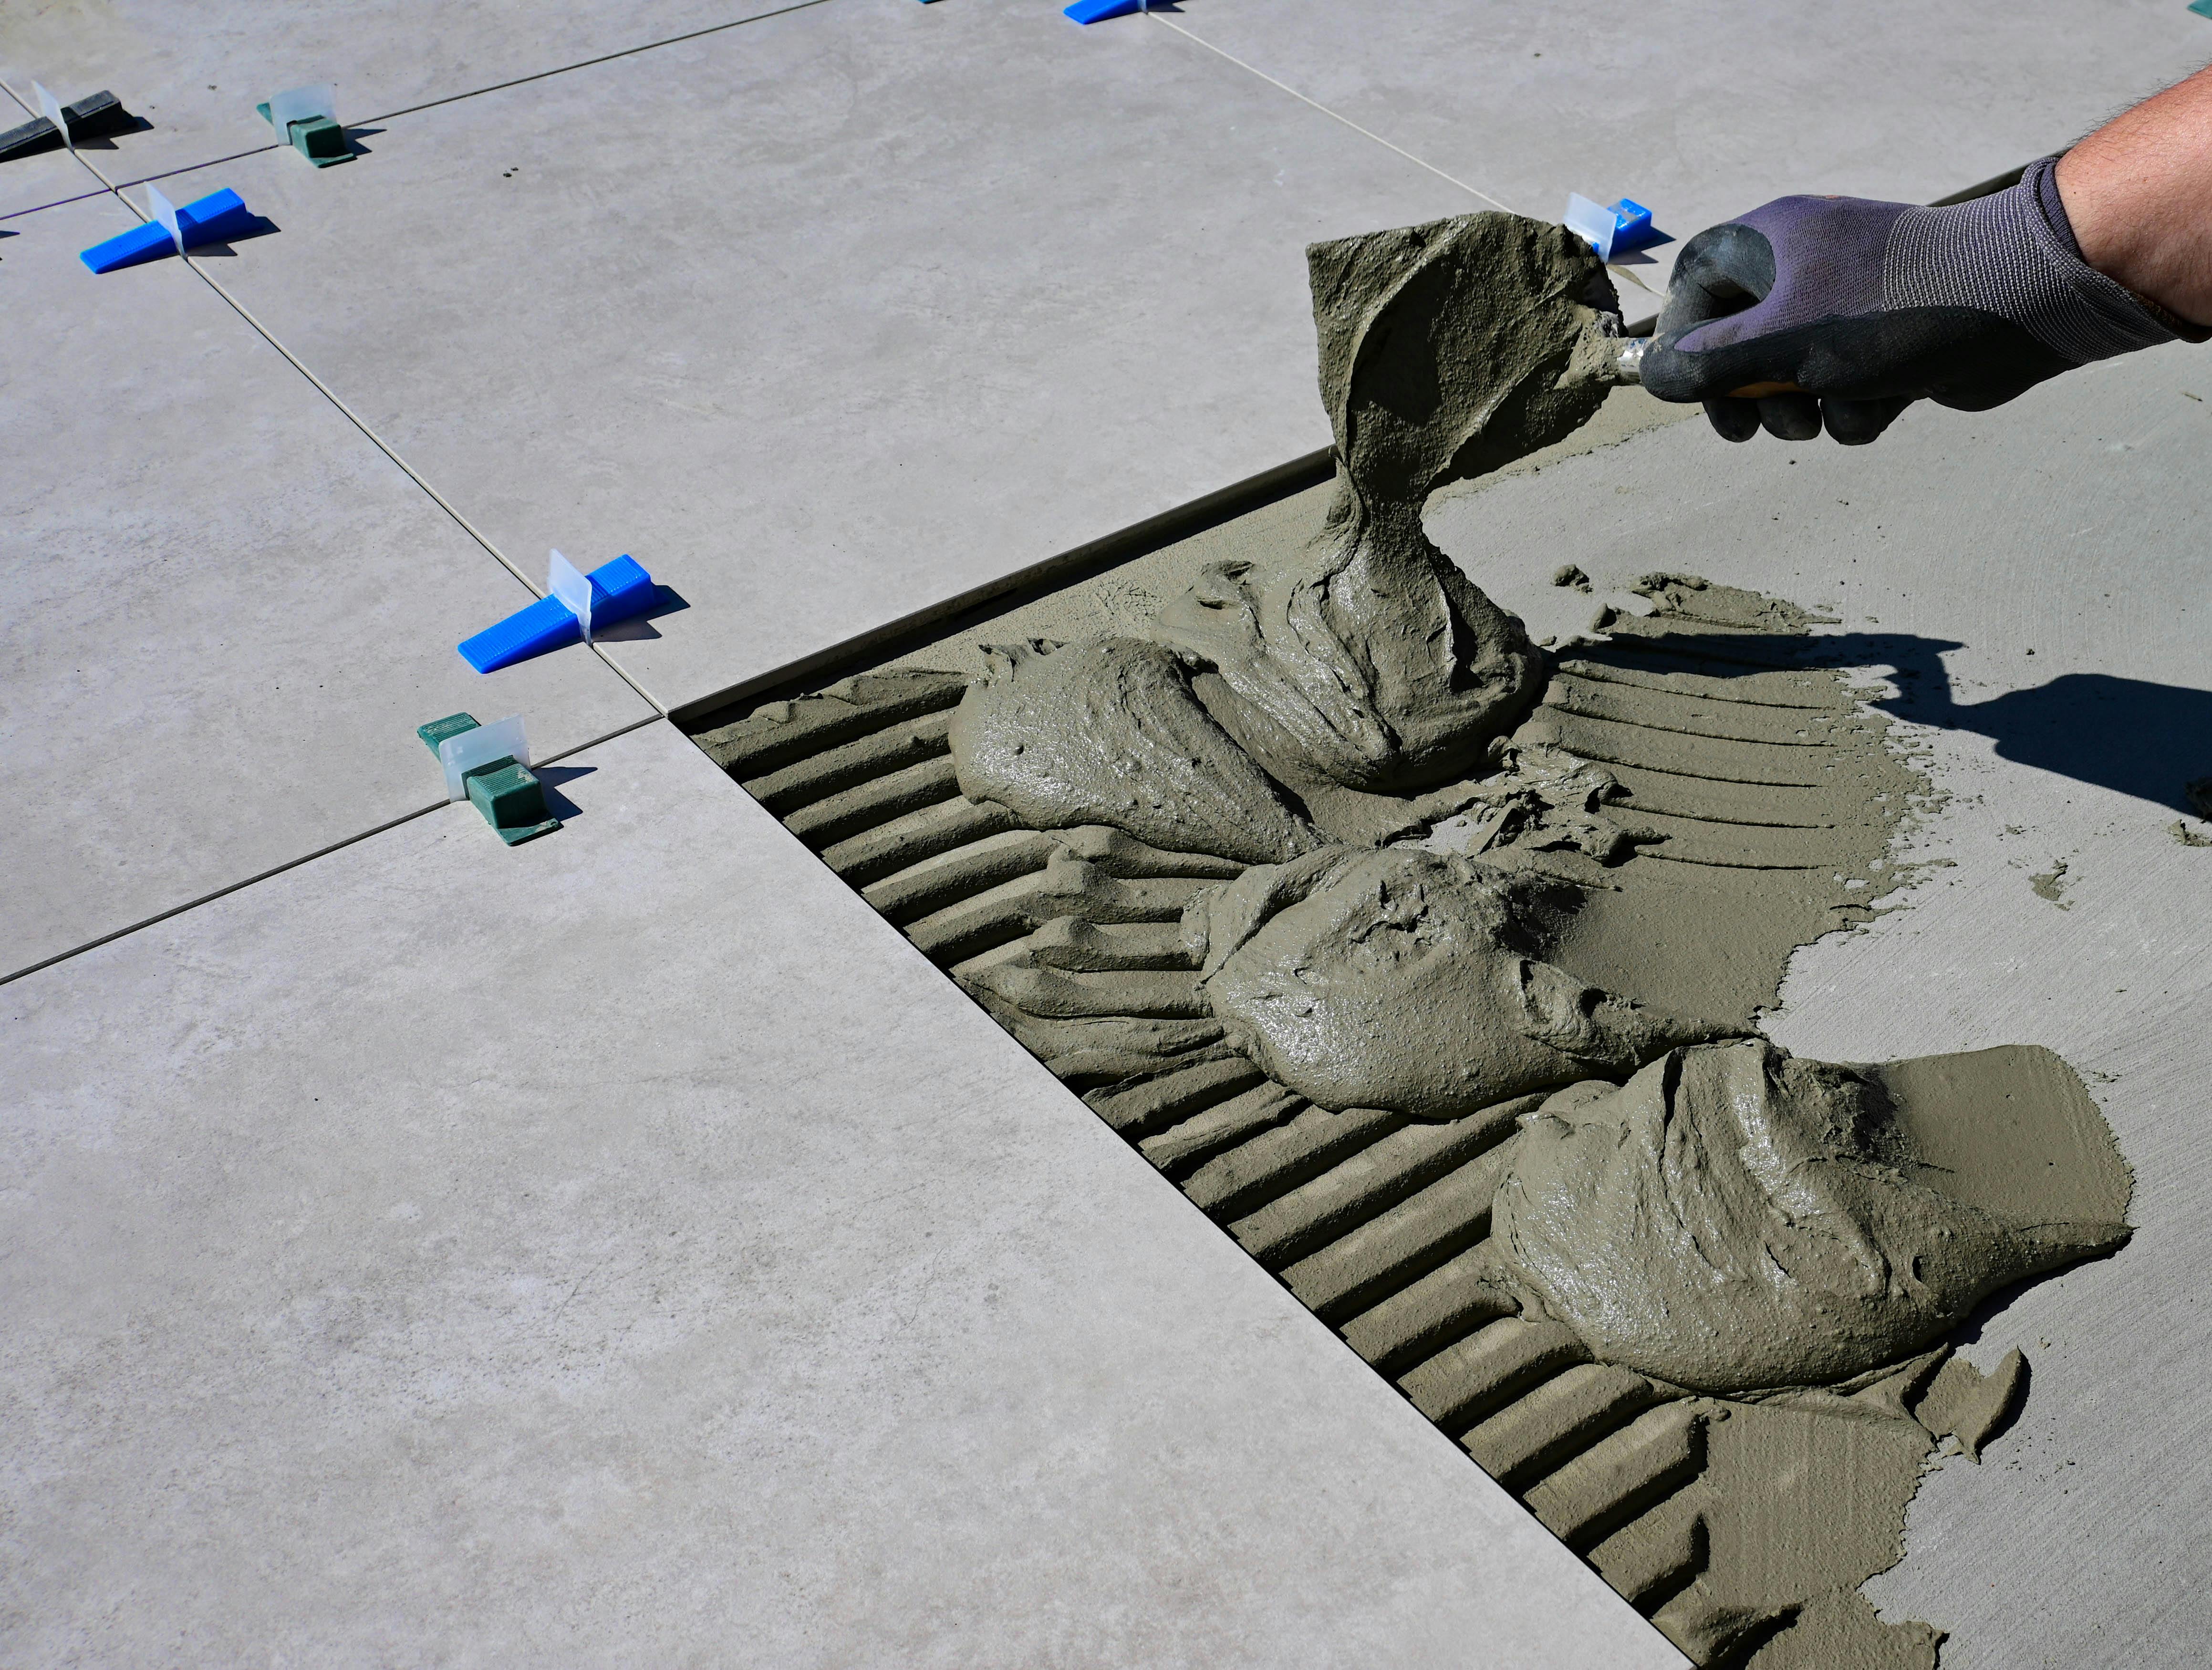
- Notched Trowel: Essential for applying adhesive evenly.
- Tile Spacers: To maintain consistent gaps between tiles.
- Adhesive: Select an adhesive compatible with your tiles and substrate.
- Grout: Choose a color that complements your tiles.
- Sponge and Bucket: For cleaning grout residue.
- Level: To ensure your tiles are laid evenly.
Having these tools at your disposal will help streamline the installation process.
Step-by-Step Tile Installation Process
1. Preparing the Surface
Start by preparing the surface. Ensure it is clean, dry, and level. If you're working with a concrete floor, make sure it's free from cracks or uneven spots. For walls, remove any wallpaper or paint that might affect the adhesive's effectiveness.
2. Planning the Layout
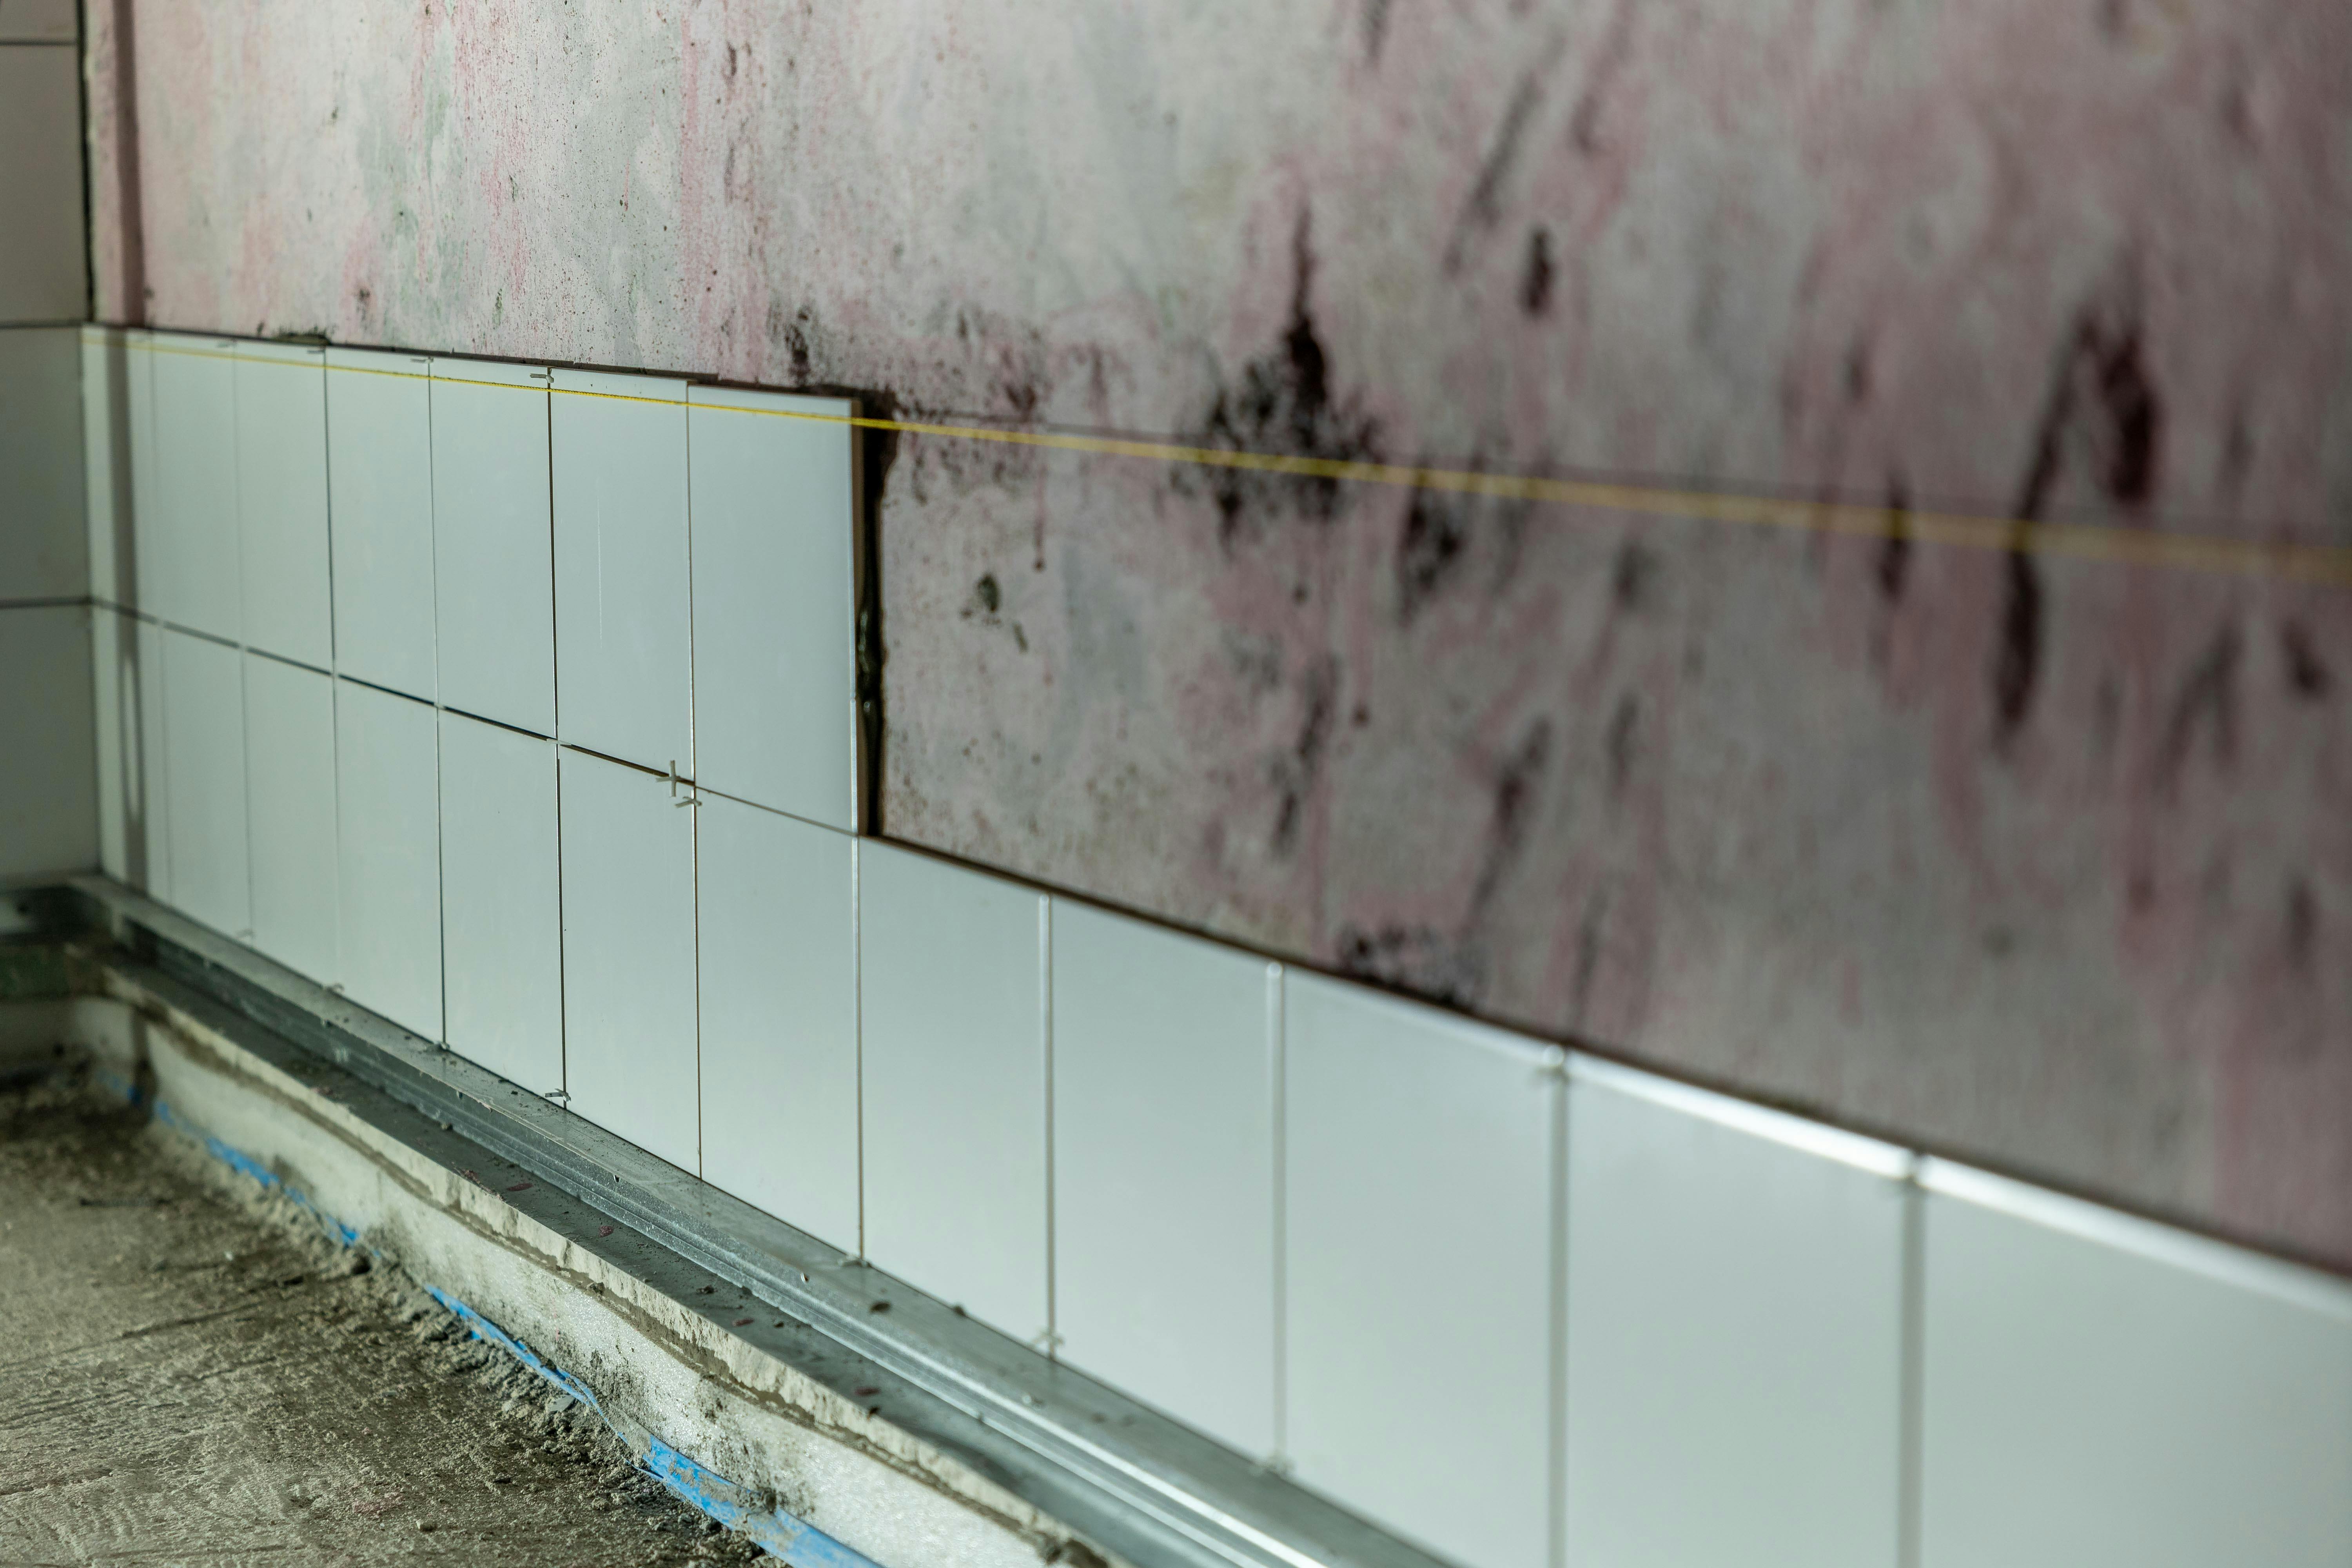
Before applying any adhesive, plan your tile layout. This step involves arranging your tiles without adhesive to visualize the final look. Use a level and chalk line to mark straight lines on the surface, which will guide your tile placement.
3. Applying Adhesive
Using a notched trowel, apply a layer of adhesive to a small section of the surface. Only cover an area that you can tile within 15-20 minutes to prevent the adhesive from drying out. Press each tile firmly into the adhesive, using spacers to maintain even gaps.
4. Cutting Tiles
As you reach edges or corners, you may need to cut tiles to fit. Use a tile cutter for straight cuts and a tile nipper for intricate shapes. Always wear safety goggles when cutting tiles to protect your eyes from sharp fragments.
5. Grouting the Tiles
Once the adhesive has set (usually after 24 hours), remove the spacers and prepare to grout. Mix the grout according to the manufacturer's instructions and apply it with a grout float, pressing it into the gaps between tiles. Wipe away excess grout with a damp sponge, rinsing frequently.
6. Finishing Touches
Allow the grout to cure for the recommended time, then polish the tiles with a clean, dry cloth to remove any remaining haze. Finally, apply a grout sealer to protect against stains and moisture.
Common Mistakes to Avoid
While DIY tile installation is achievable for beginners, there are common pitfalls to avoid:
- Skipping Surface Preparation: Neglecting this step can lead to uneven tiles and poor adhesion.
- Incorrect Adhesive Application: Ensure even application to avoid tiles popping up over time.
- Inconsistent Grout Lines: Use spacers consistently to maintain uniform grout lines.
Conclusion: Your DIY Tile Journey
Embarking on a DIY tile installation project in Meridian, Idaho, can be a rewarding endeavor. With patience and attention to detail, you can transform your living space with a fresh, new look. Remember, practice makes perfect, and each project will enhance your skills further. If you ever feel overwhelmed, don't hesitate to reach out to Tommy The Tile Guy for professional assistance and advice.